Walls Early Priority Tier List
What to invest in first in Hook Inc’s shared-world survival — not a cosmetics flex list.
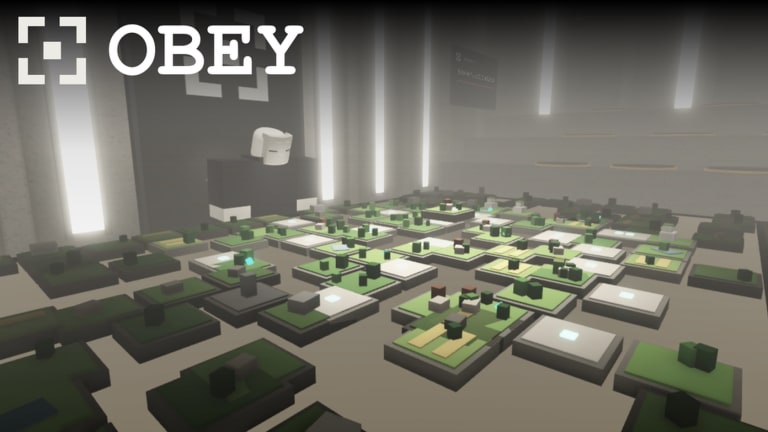
This Tier List Hub ranks early-game priorities for Walls on Roblox — the Hook Inc medieval fantasy faction survival experience with one shared world and up to 50 players. It is not a vanity ranking of every cosmetic. It answers a practical question: after you spawn under The Construct’s “productive season” pitch, what should you stabilize first so you stop dying to Hunger, empty Stamina, or a bad Shop buy?
Use this list with the deep guides linked under each tier. Meta will shift after balance patches; check the Updates Hub when Hook Inc ships changes, then return here for a refreshed priority order.
Ranking criteria
We score early priorities on four axes:
- Survivability — does it keep Health, Hunger, and Stamina alive through day/night and weather?
- Tempo — does it unlock crafting, Shop, or faction power sooner?
- Group leverage — does it matter more when other players contest the Walls?
- Forgiveness — how badly does ignoring it punish a new player in the first hour?
Items that only look cool on the fortress skyline but do not feed those axes drop to lower tiers.
S tier — do these immediately
Hunger management
Hunger is a first-class HUD bar alongside Health and Stamina. Letting it collapse turns every exploration route into a soft death timer. Learn what restores Hunger, never leave the walls starving, and plan resource trips with a food buffer. Full detail lives in Survival. If you only fix one habit today, fix this one.
Stamina discipline
Sprinting, melee swings, drawing bows, and climbing fortress approaches all tax Stamina. Empty Stamina in a fight on the Walls is how you lose trades you should have won. Keep a mental threshold: disengage or walk before the bar hits zero. Pair Stamina habits with the movement notes on the Players Hub.
Faction join (or founding intent)
Walls is built around factions in a single shared world. Solo pride is fine for a tutorial lap; it is fragile when organized groups hold stone fortress lines. Join a welcoming faction early or commit to recruiting so you share upgrades, Shop knowledge, and wall defense. Read Factions before you burn an hour building in contested ground alone.
A tier — unlock within the first session
Crafting basics
Inventory and Crafting are confirmed core systems. Early recipes that convert wood and related resources into tools, repair materials, or camp essentials beat wandering with empty hands. Open Crafting whenever you hit a resource breakpoint instead of hoarding blindly. Walkthrough: Crafting & Shop.
Shop value sense
The Shop is not a vanity mall. Early currency should buy gaps in your kit — food insurance, a safer weapon tier, or armor that keeps you alive on the wall — not every flashy listing. Compare cost to how many resource runs you would need to craft the equivalent. Bad Shop habits strand you undergeared while neighbors upgrade.
Ranged starter kit (bow-focused)
Official combat imagery highlights bows and spears with medieval armor on stone walls. A basic ranged option lets you contest approaches, support faction mates from parapets, and disengage when Hunger or Stamina dips. You do not need a perfect endgame bow on day one; you need something that works from elevation. See Combat.
B tier — strong, but sequence them
Melee starter kit (spear / close weapons)
Melee shines when enemies crest the wall or when you guard gates. Spears and close weapons matter, yet diving melee before you understand Hunger and Stamina often means overextending. Unlock a reliable melee option after your bars and a ranged fallback feel stable.
Light medieval armor
Armor reduces how often a skirmish deletes your Health bar, which matters in 50-player chaos. Still, armor without food and stamina habits just delays the same death. Buy or craft armor once you are not starving between fights.
Structured exploration routes
Day/night and weather change how safe the outer approaches feel. Mapped resource loops beat random wandering. Exploration ranks B because it pays off hard — after you can survive the trip. Tie routes to Survival and the first-hour plan in Getting Started.
C tier — useful later, easy to over-invest early
Deep upgrade tree chasing
Faction and personal upgrades are part of the fantasy, but dumping every resource into a long upgrade before your basics are stable creates fragile specialists. Grab upgrades that reinforce Hunger, Stamina, crafting speed, or wall defense first; prestige projects can wait a session.
Pure cosmetics and flex gear
Looking the part on the fortress is fun. It does not refill Hunger. Save cosmetic spending for after your Shop essentials and crafting loop are online.
Edge-case PvP tech
Advanced peek angles and bait timings are real skills on the Walls, but they assume you already have weapons, armor, and bar management. Learn them after A-tier systems stop killing you.
D tier — common early traps
Ignoring the HUD
Playing “for vibes” while Health, Stamina, and Hunger flash empty is the fastest way to rage-quit. The HUD is the game.
Hoarding without crafting
Full Inventory bags of raw wood that never enter Crafting or Shop conversion waste the productive season The Construct keeps advertising.
Refusing factions on principle
You can try a lone-wolf fantasy; the design still rewards groups holding territory around the Walls. Revisit Factions if every outing ends with you outnumbered.
Chasing unverified codes or scripts
There are no verified promo codes yet and no verified place-specific scripts worth the ban risk. See Codes and Scripts instead of derailing your early priorities.
Suggested first-hour stack
- Stabilize Hunger and Stamina habits (Survival)
- Learn HUD + Inventory (Getting Started)
- Join or found a faction (Factions)
- Craft a minimal tool kit, then make one smart Shop purchase (Crafting & Shop)
- Equip a ranged starter and a backup melee option (Combat)
- Run one safe daylight resource loop, then help hold a wall segment with your faction
How to use this hub over time
After each major patch on the Updates Hub, re-ask: did Hunger or Stamina change? Did Shop prices move? Did faction upgrades shift? Update your personal order even if our letter grades stay familiar. Cross-link your loadout notes with the Players Hub so controls muscle memory matches the kit you ranked.
Official context — experience page, Hook Inc group, universe details — stays on Official Links. This tier list stays focused on what to do first, not where to click outside the game.
Summary table
| Tier | Priority |
|---|---|
| S | Hunger management; Stamina discipline; Faction join |
| A | Crafting basics; Shop value; Ranged starter kit |
| B | Melee starter; Light armor; Planned exploration |
| C | Deep upgrades; Cosmetics; Advanced PvP tech |
| D | HUD ignore; Hoarding; Lone-wolf stubbornness; Fake codes/scripts |
Play the S and A rows until they are boring. Boring survival habits are how you earn the right to experiment on the Walls.
Frequently Asked Questions
Quick answers to the most common Walls questions.
What is the number one early priority in Walls?
Hunger management, tied closely with Stamina discipline. Empty survival bars end more early runs than bad weapon taste.
Should I buy Shop gear or craft first?
Learn Crafting basics so you understand material value, then spend Shop currency on gaps your recipes cannot cover yet — never on pure flex.
Is ranged better than melee for beginners?
A simple bow-focused starter is usually safer for wall defense and disengages. Add a spear or melee option next for gate and crest fights.
Do I need a faction on day one?
Yes if you want stable territory. Walls is a shared-world faction survival game; solo play is harsher once groups organize.
Will this tier list change after updates?
Priorities can shift when Hook Inc adjusts economy, combat, or survival drain. Recheck after notes on the Updates Hub.